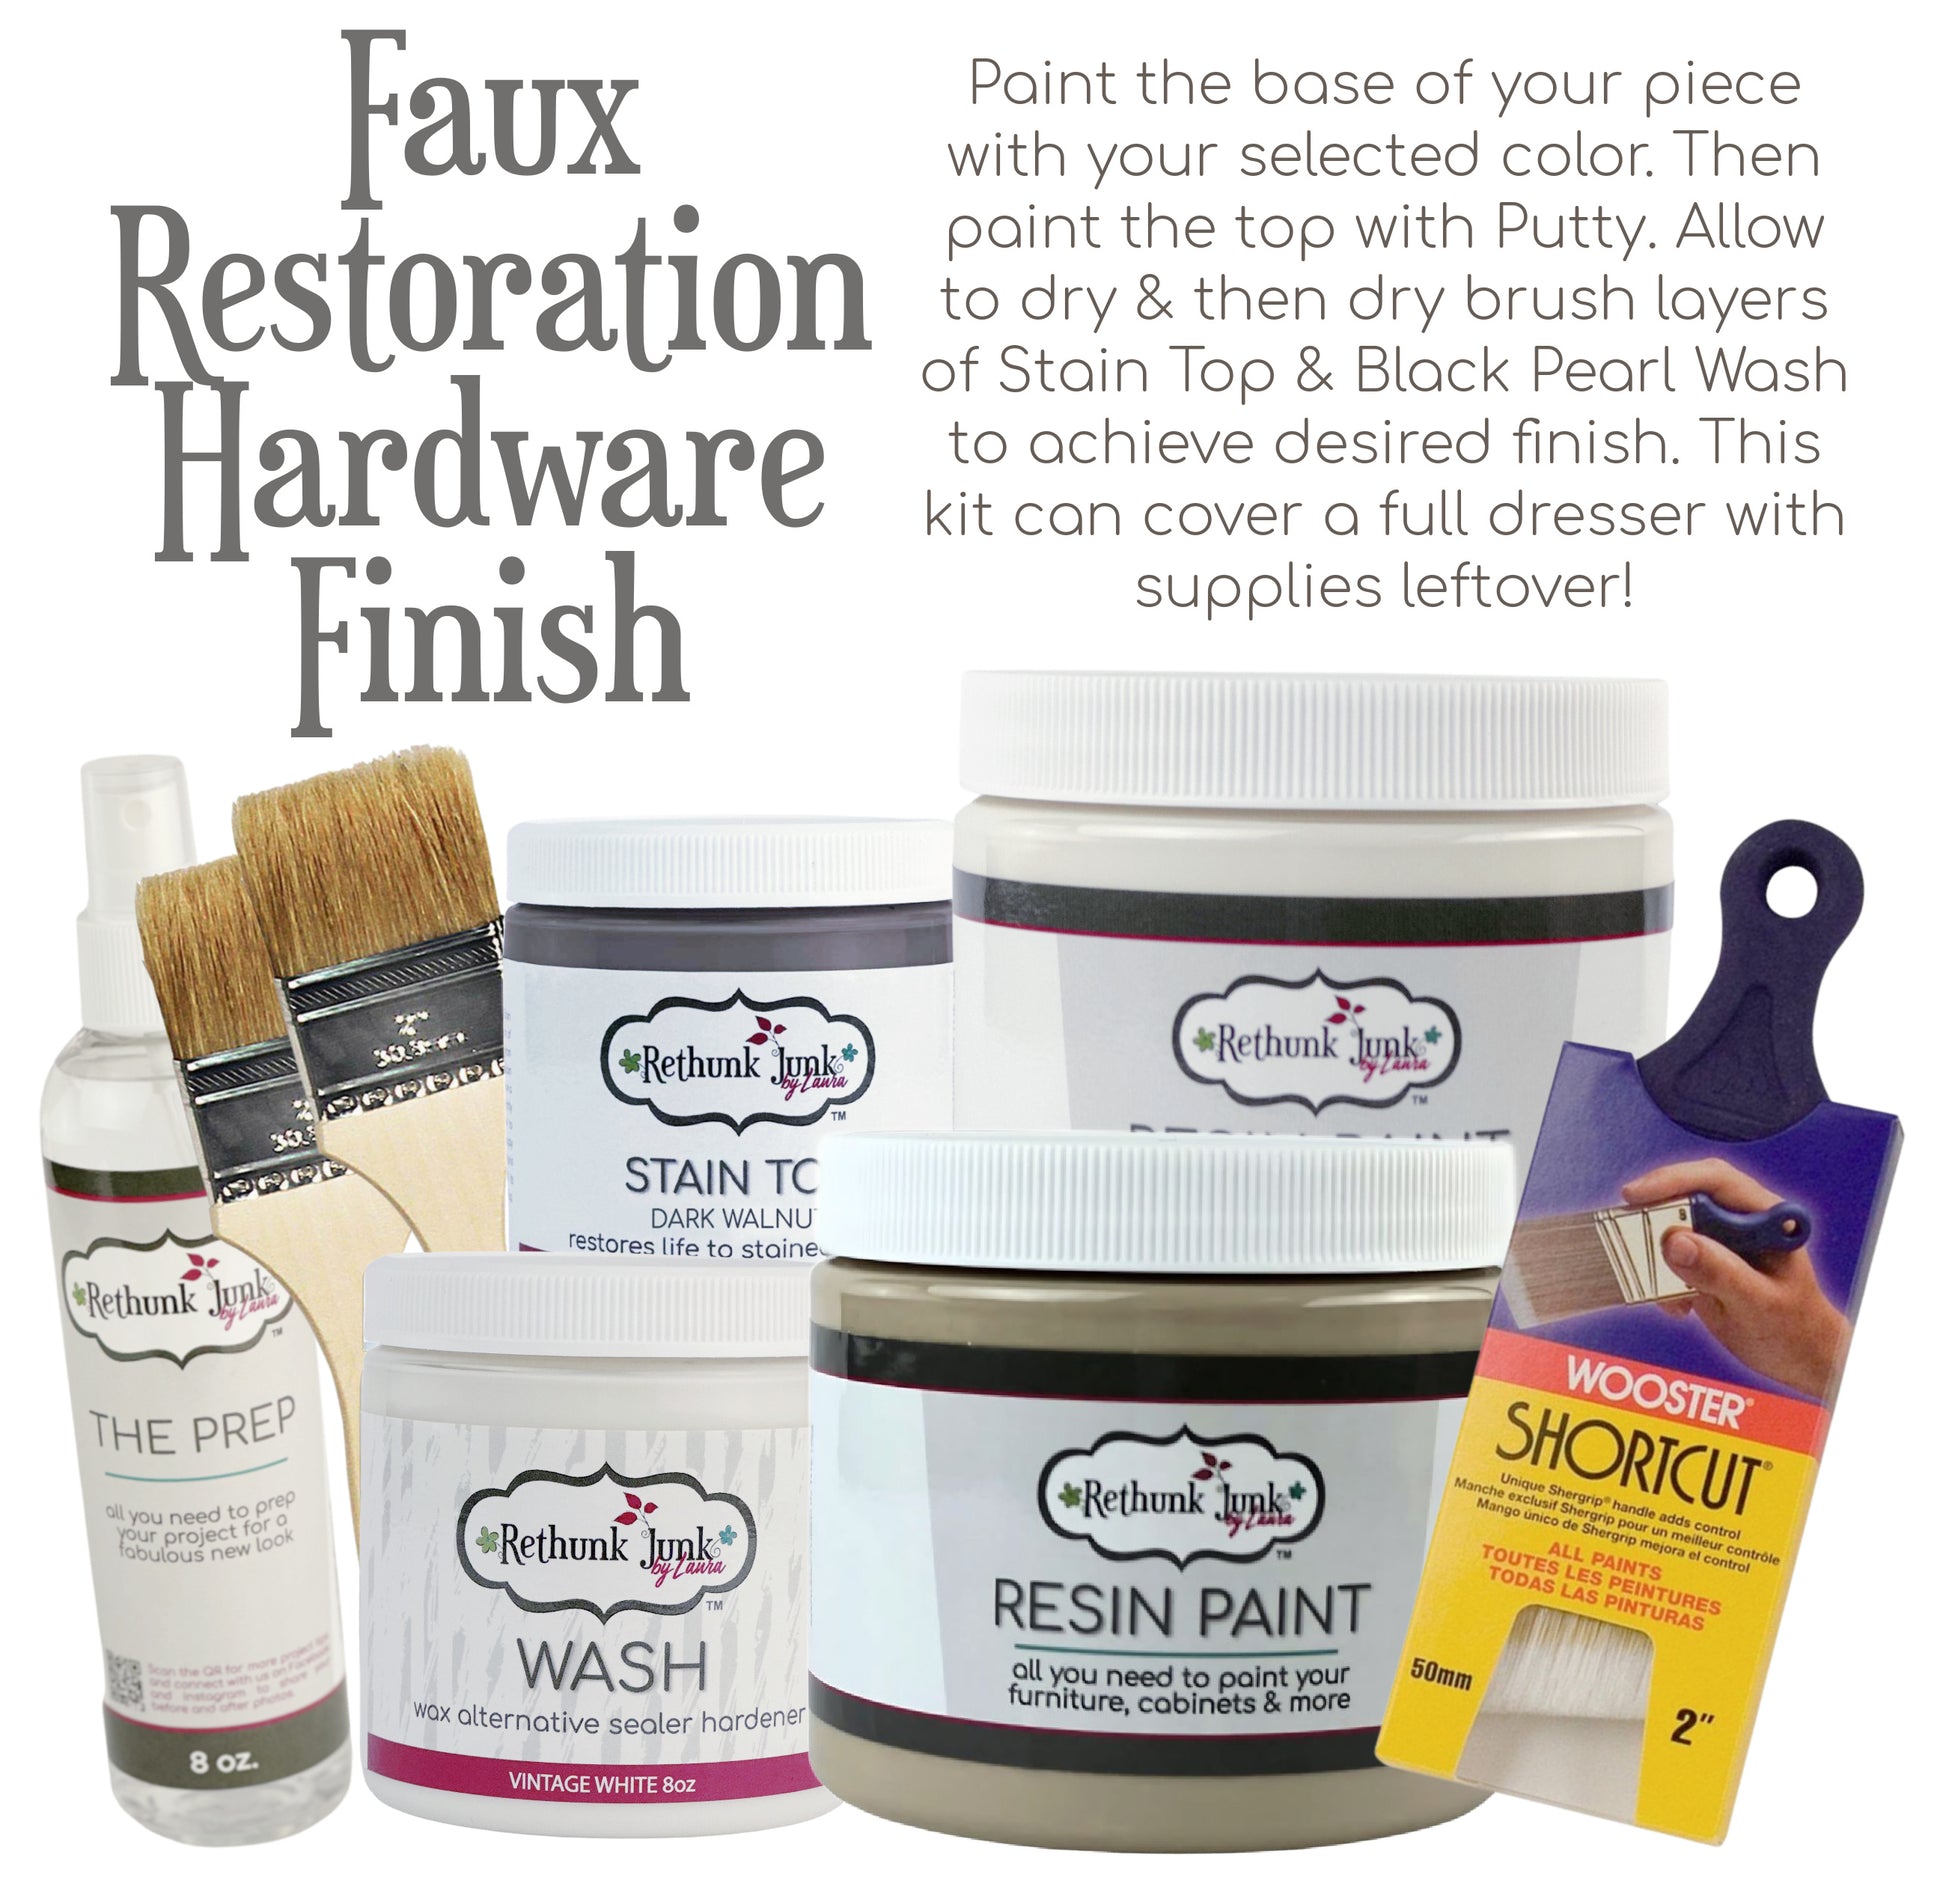
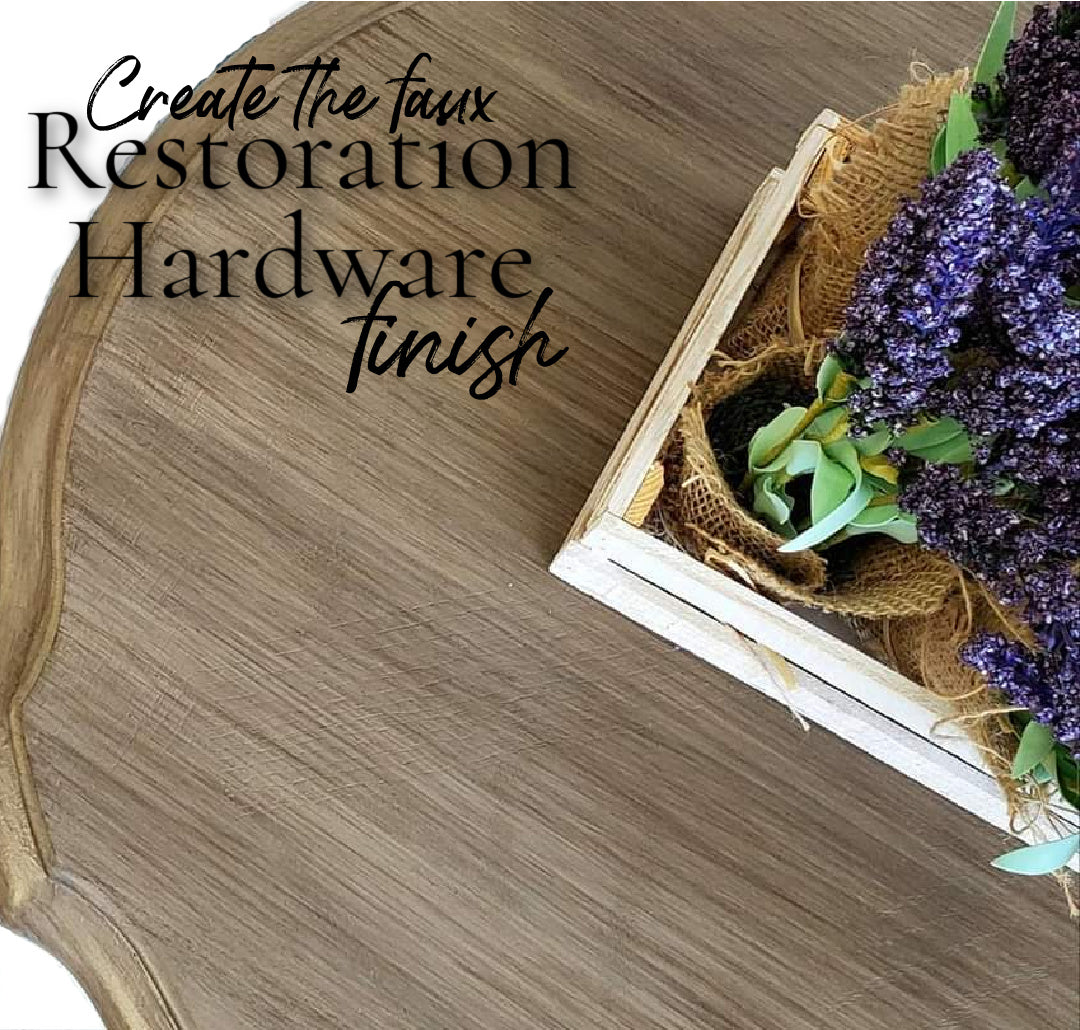
Creating a "Faux Restoration Hardware" Finish
Love the weathered, rustic, textured finish found at your favorite high-end home furnishing stores? Create it on your tired furniture using Rethunk Junk by Laura products! It's simple!
If you're a furniture flipper, try this finish and watch your pieces sell faster than you can find your next treasure to flip! It's simple & forgiving for less-than-perfect finishes. Oh, and buyers LOVE it!
Create the Faux Restoration Hardware Look with Amy of Renewed Vintage Market
Step-by-step guide to create this look...
-
Step 1 - Prep
Prepping is the first and most important step for every project, and we have made that step super simple. No sanding, stripping or priming needed! Simply clean with our Prep. Yes! It's really that simple! Just spray the surface with Prep, allow the Prep to sit for a few minutes, then use a scrubby pad to make sure it's good and clean. Wipe it down a second time with Prep and a clean, lint-free cloth. That's it! You're ready to paint. Our water-based paint formula will adhere to virtually any surface after using The Prep.
-
Step 2 - Paint
Select the color you love most for the base of your piece. We love colors like Linen to accent this finish. Apply using a soft-bristle brush and allow to dry fully. Apply a second coat for full coverage. Then, choose the base color for your desk top from one of our 54 paint colors. For the Faux Restoration Hardware finish, we like to start with our color, Putty (pictured above). Looking for a warmer wood tone? Try starting with our color, Hazelnut, instead. Allow the first coat to dry fully and apply a second coat for full coverage.
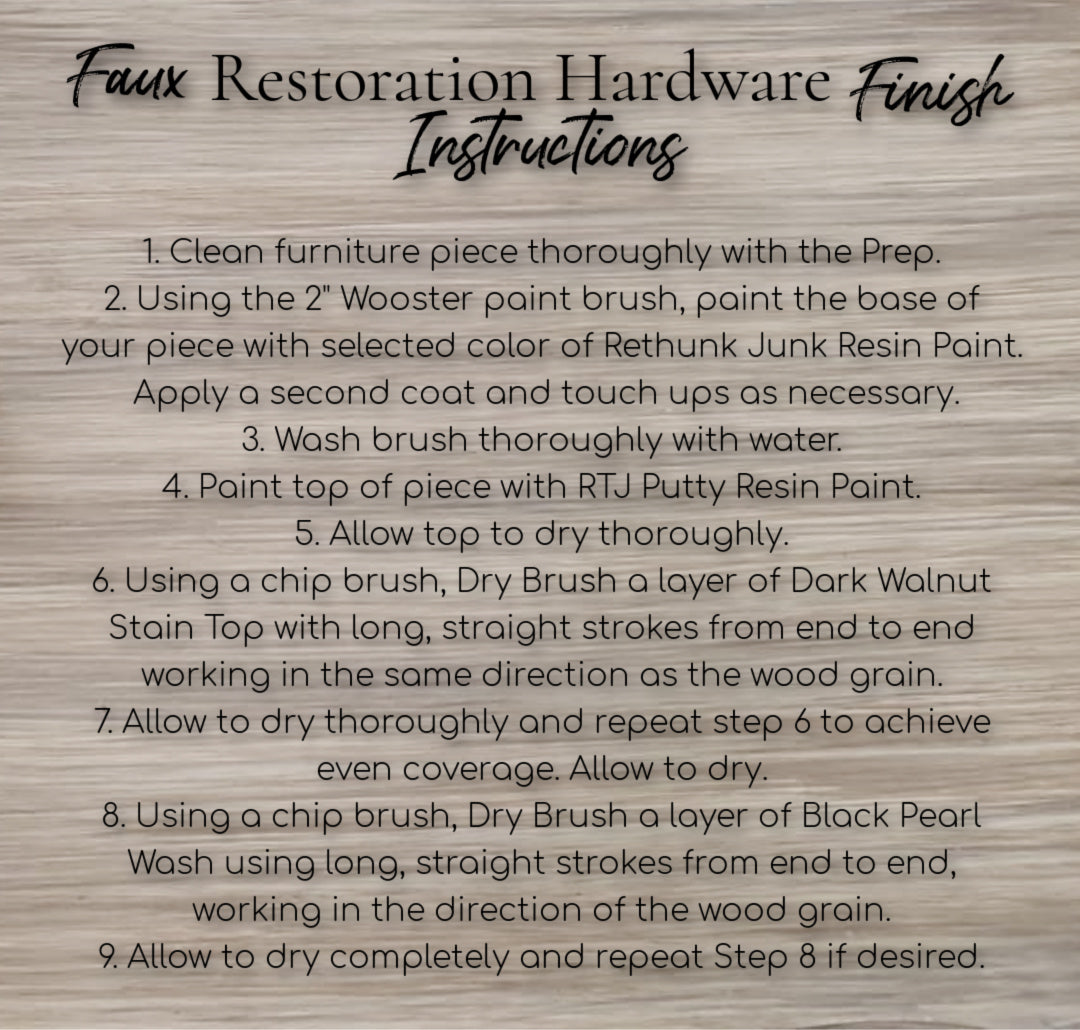
Step 3 - Adding Texture
Now it's time to create some texture magic. Use a Chip Brush and Dark Walnut Stain Top to lightly dry brush the first layer of color. What does "dry brush" mean? It means to dip your chip brush into the Stain Top, then pat it gently on a paper towel to remove some of the product. Then lightly pull the chip brush across the surface in the direction of the wood grain. It may take you a minute to get the feel for how hard to press the brush and where to start & stop your brush, but that's part of the fun! Once you have dry brushed the entire surface with Stain Top, allow it to dry fully and do the same process - using a VERY light hand - with our color, Linen. This will add some white highlights to blend with the base of the desk. Once this step is done, repeat one more time with the Putty color to soften the finish. If you look at it and would like a bit more dark depth, simply repeat the Stain Top dry brush step. If you love it, you're done. Simply seal the piece with our Tuff Top or use a WASH for added interest & protection. We LOVE to seal the surface with our Black Pearl Wash!!!
PRO TIP: Use your Rethunk'd desk gently for the first week as the paint continues to harden. Yes, you can use it, just be gentle at first. Your new finish will be super hard & durable in no time!
Other variations of this look!
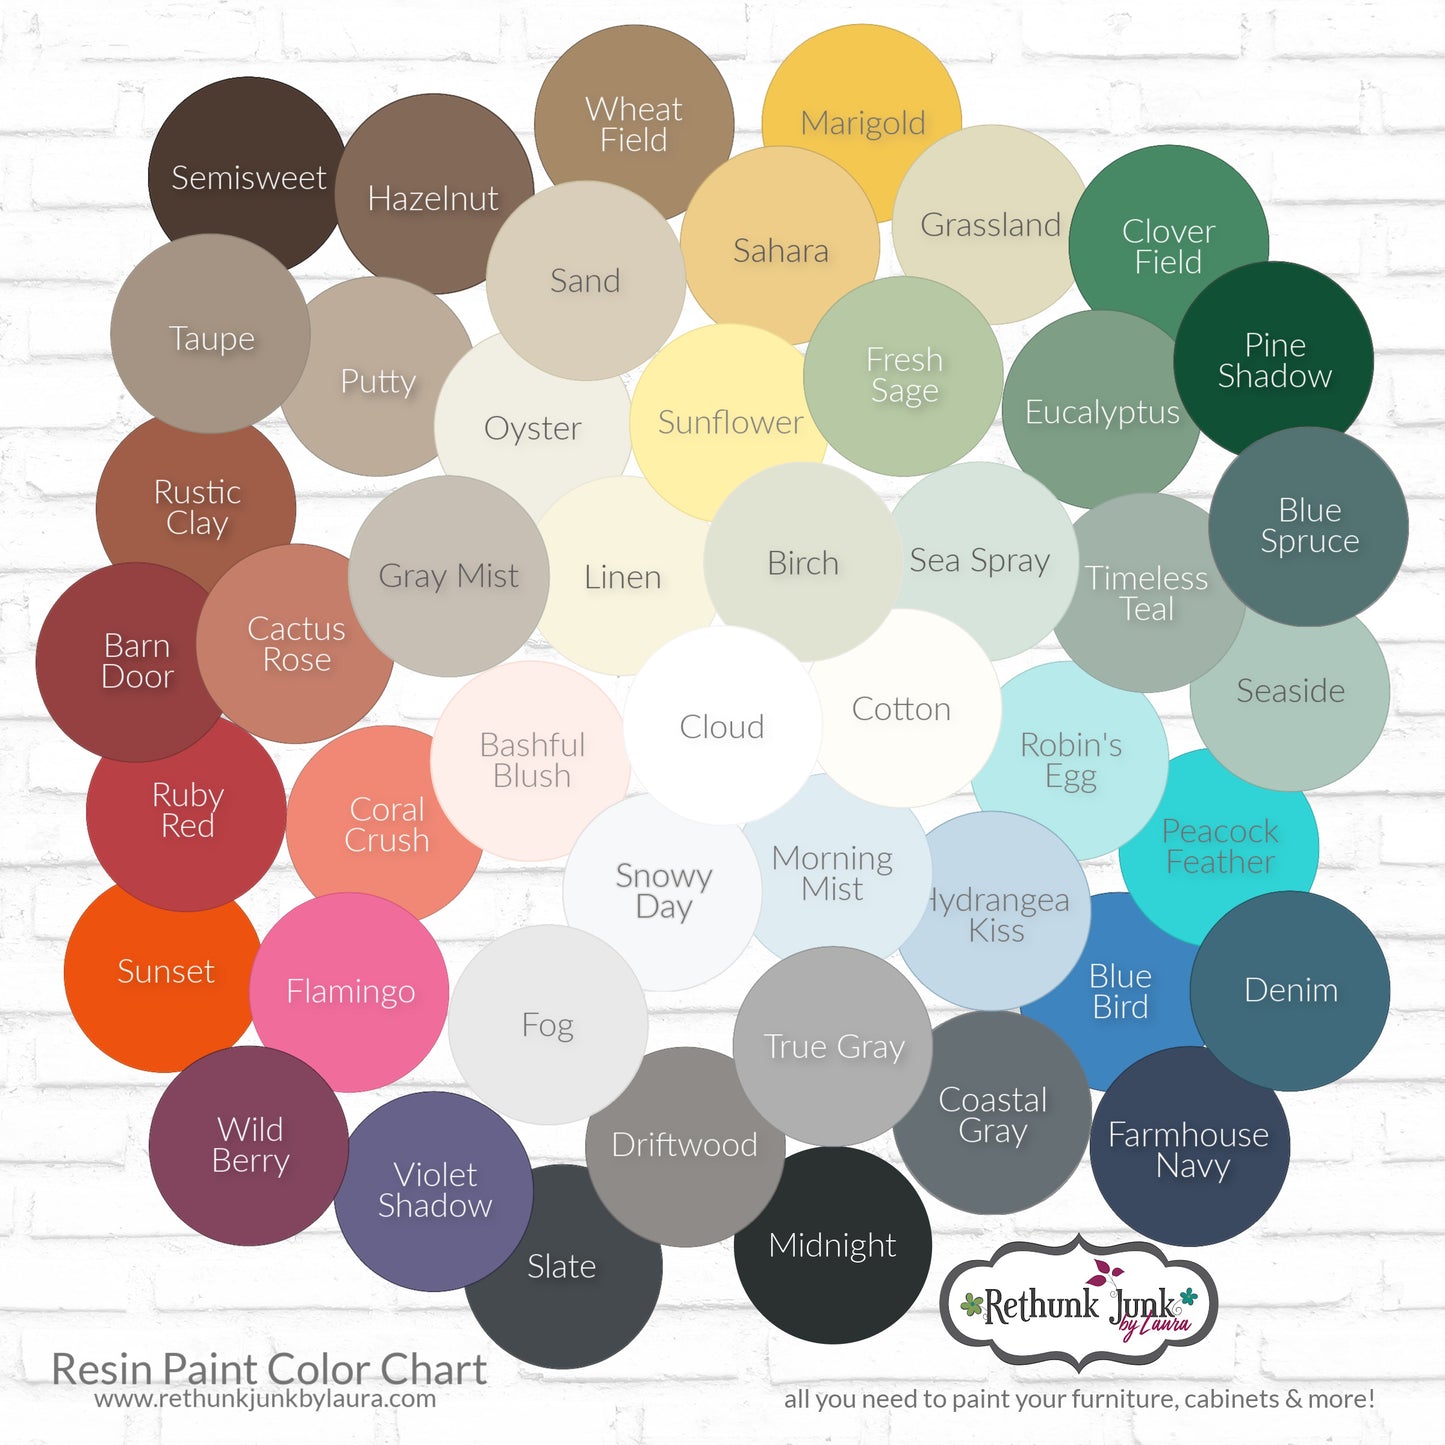
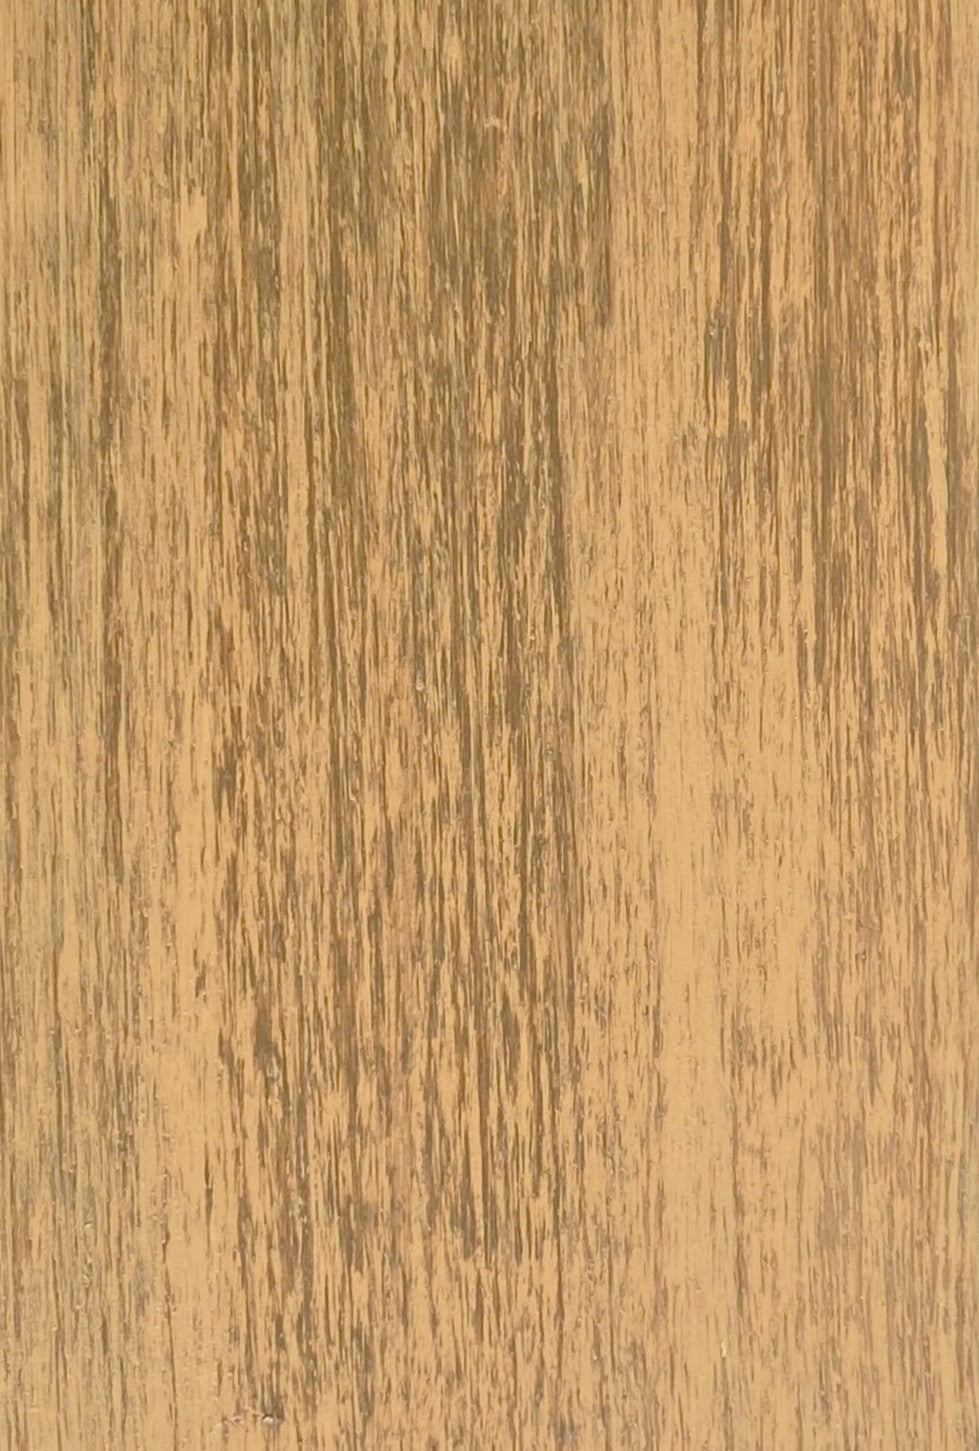
-
Warm & earthy
For this look, we used the color, Fresh Sage, on the dresser base. The top was painted with Hazelnut, then dry brushed with Semisweet and Dark Walnut Stain Top. Finally, it was sealed with Black Pearl Wash.
-
Faux Bamboo
Looking for a more modern option? Try this look with Sahara as the base color. Then dry brush Hazelnut and Wheat Field for texture and depth. We love this finish paired with Blue Spruce for a mid-century vibe!
Save on this finish with a bundle that includes everything you need to create this look from start to finish!
Rethunk Junk Paint Co
Faux Restoration Hardware Bundle
Share
